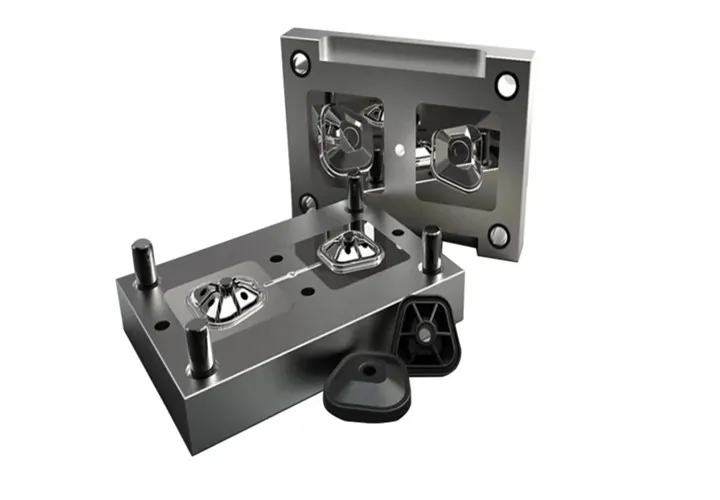
Mold assembly is one of the most critical steps of mold making procedure, all the parts machined or purchased need to be put together and required to be work functionality. Mold assembly job requires comprehensive understanding of mold structure as well as injection molding. Quality of mold assembly determines the mold precision, injection productivity. The work instructions below can be treated as a guide for mold makers.
All parts are machined correct and clean, the work tools required are available and the workplace is well organized, before assembling the mold, all the components must be check and verified.
- Make sure all surfaces are polished accordingly, especially the deep rib – it could cause serious de-molding problem if it was not polished properly.
- Check all sharp edges of cavity and cores, all sharp edges that have no function requirement must be broken 0.01 radius.
- Verify that the mold gate and runner size is correct according to design; make sure the runner is polished.
- The mold base should have correct markings, pay bar slots between parting line, clamp plates, support plates and ejector plates, check if lifting holes for each plate is available and mark with correct thread dimension, and the lifter bar as well.
- Check if the sprue and nozzle are in correct size, check if the location ring is correct.
- Check if the knock out holes dimension, layout and clamping slot is correct.
- Check if the part surfaces, deep ribs, sliders, pins, end of mold flow are all properly vented.
- All pins, cores, sleeves must be marked for correct location, check the dimension and fitting clearance include length and head.
- Assure that ID is engraved on cavities on multi-cavity molds, verify that part number is engraved.
- Verify that all moving parts, such as ejector blades, slides, lift cores, etc. are of dissimilar material or nitrided to prevent galling.
- Ensure the water line is through, marked in and out correctly, make sure the water line tube will not interfere with clamp slots.
- Type of steel, hardness, location and detail number must be marked. All parts, including those parts that are interchangeable, will be identified for position in a way that assures the locations mark is always clearly visible even after assembly.
- All slides, core pins, angle pins, cam locks and guide pins must be greased.
- Check all the mechanism; make sure they are all smooth and functional.
- Check all the fitting tolerance, including pins, cores, sliders, lifters.
- Check if cavity and core inserts are higher than parting line, .004 minimum (.002 each above cavity and core retainer plate).
- Close the mold; check if there is still clearance between cavity and core retainer plates. This clearance should be .004 minimum. If a runner is in cavity or core retainer plate, leave this section flush with cavity and core inserts and check if it affects return pins. Return pins should make contact with A-side retainer plate.
- Ensure that all slides, core pins, angle pins and guide pins are greased.
- All limit switches must be orientated properly for wiring and function.
- Verify preload of all pillars, +002 to +004, preload on return pins, +.001 to +.002 inch.
- Check hydraulic cylinders for length of stroke.
- Check if insulator plates are installed, slide locks and parting line locks work properly.
- Move ejector plate back and forth to verify that it moves freely.
- Push ejector plate forward and check if all pins, sleeves, lift cores and all other moving components spin freely.
- With ejector plate forward, push ejector blades, sleeves, lift cores and all other moving components in and out to verify correct clearance.
- Open and close mold on bench in a injection molding machine sequence to verify that the early return system functions properly. Check if slides clear ejector pins, lift cores and any other moving parts with sufficient clearance.
And there are more for different types of mold structure, such as 3 plate mold, they have unique design of latch lock, limited pull plate, runner plate etc. and for hot runner molds, they have special design for hot runner manifold plate, and installation of hot nozzle wiring, plugging etc.
Watching the video of injection mold assembly processes: